
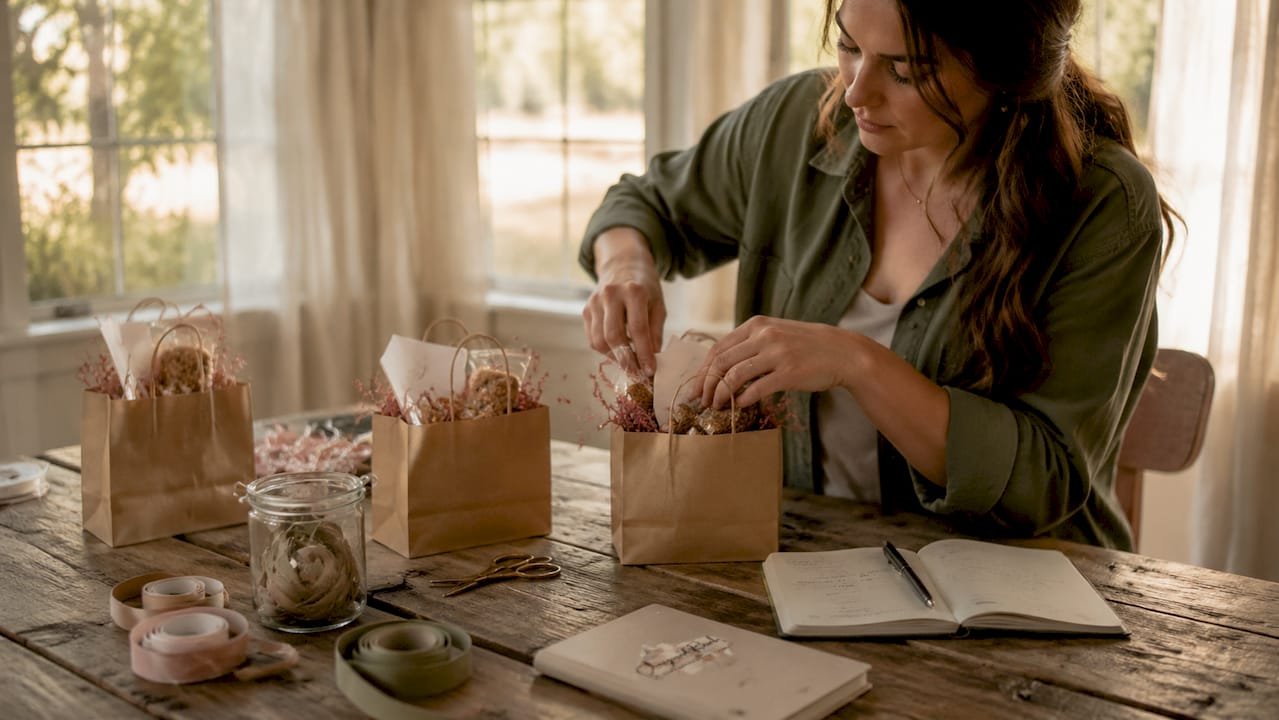
A wedding weekend welcome bag is a curated gift package that greets out-of-town guests upon arrival, giving them everything they need to feel oriented, comfortable, and genuinely welcomed. For destination weddings especially, these bags do real work. They replace the confusion of “what’s happening when?” with a printed itinerary, replace the post-travel slump with snacks and hydration, and replace the feeling of being a stranger in a new place with a local treat that says, “We thought about you.” When you create wedding weekend welcome bags with intention, you turn a logistical gesture into a lasting memory.
What to include in wedding weekend welcome bags
The most effective welcome bags contain a small number of well-chosen items, not a large number of decorative ones. Guests prefer practical, restrained bags with hydration and local guidance over bulky decorative bags. That finding should shape every purchasing decision you make.
The non-negotiables
These four items belong in every destination wedding guest bag, regardless of budget or theme:
- A printed weekend itinerary. A physical itinerary is the hospitality gold standard for destination weddings, even in an era of group chats and digital calendars. Phones die. Signals drop. A printed schedule with event times, locations, and dress codes never fails. You can add a QR code for real-time updates, but the paper copy is the anchor. For help structuring the full weekend schedule, the adventure wedding weekend itinerary guide from Cherrywoodranchweddingvenue is a strong starting point.
- A personalized welcome note. Write it by hand or have it printed on card stock. Two to four sentences from you as a couple carry more weight than any product in the bag.
- Water and a hydration booster. A bottled water plus an electrolyte packet covers guests arriving after a long drive or flight. This is the single most-used item in any welcome bag.
- Two snacks: one sweet, one savory. Two snack types paired with a water bottle and a welcome note form the reliable core of any well-received bag. Avoid anything with common allergens like peanuts unless you know your guest list well.
The personalization layer
One locally sourced item transforms a generic bag into a destination souvenir. Including a regional snack, beverage, or custom map creates a memorable connection to the wedding’s location. For a North Georgia mountain wedding, that might mean a jar of local honey, a bag of Appalachian trail mix, or a small bottle of Georgia peach jam. These items cost very little but carry outsized meaning. Couples planning mountain weddings can find more ideas on local attractions for wedding trips to match their region.
Weather-appropriate additions round out the bag. For summer outdoor weddings, add a travel-size sunscreen and a small fan. For fall or winter mountain events, a hand warmer packet and a tea bag are both practical and thoughtful.
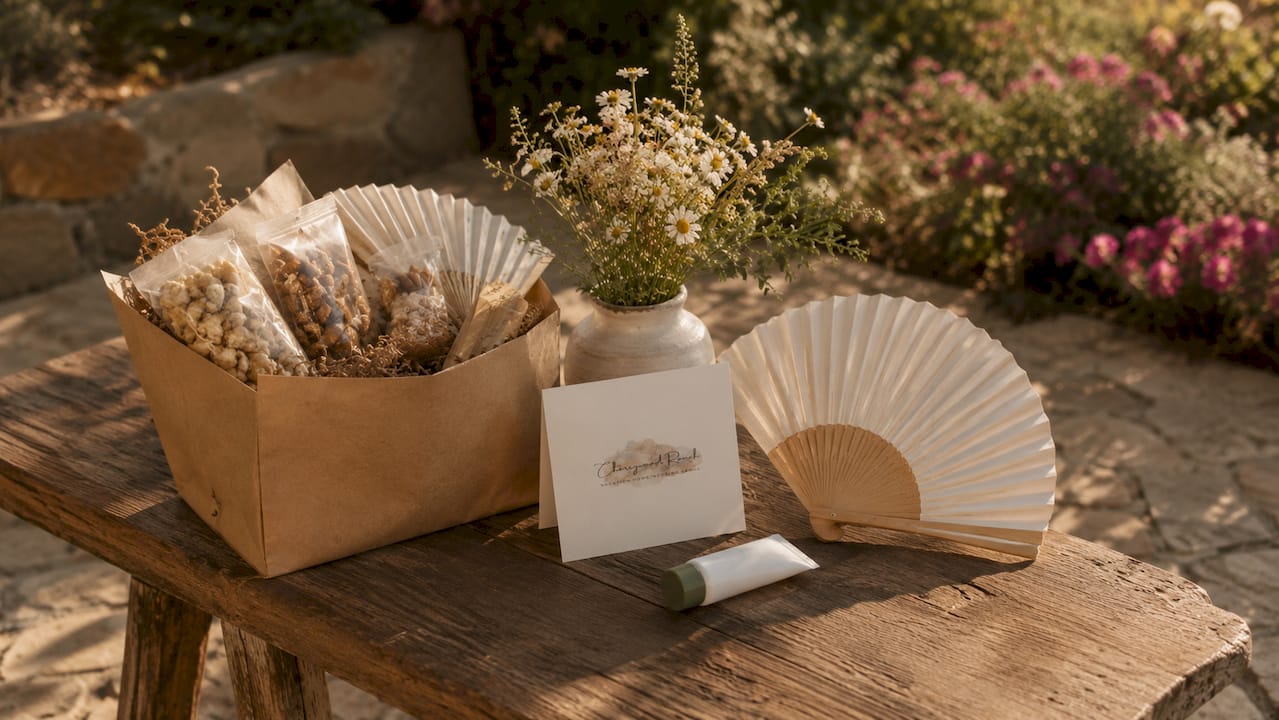
Pro Tip: Avoid including items that require refrigeration or have a short shelf life. Assemble bags no more than 48 hours before delivery to keep snacks fresh.
How to budget and choose packaging for guest bags
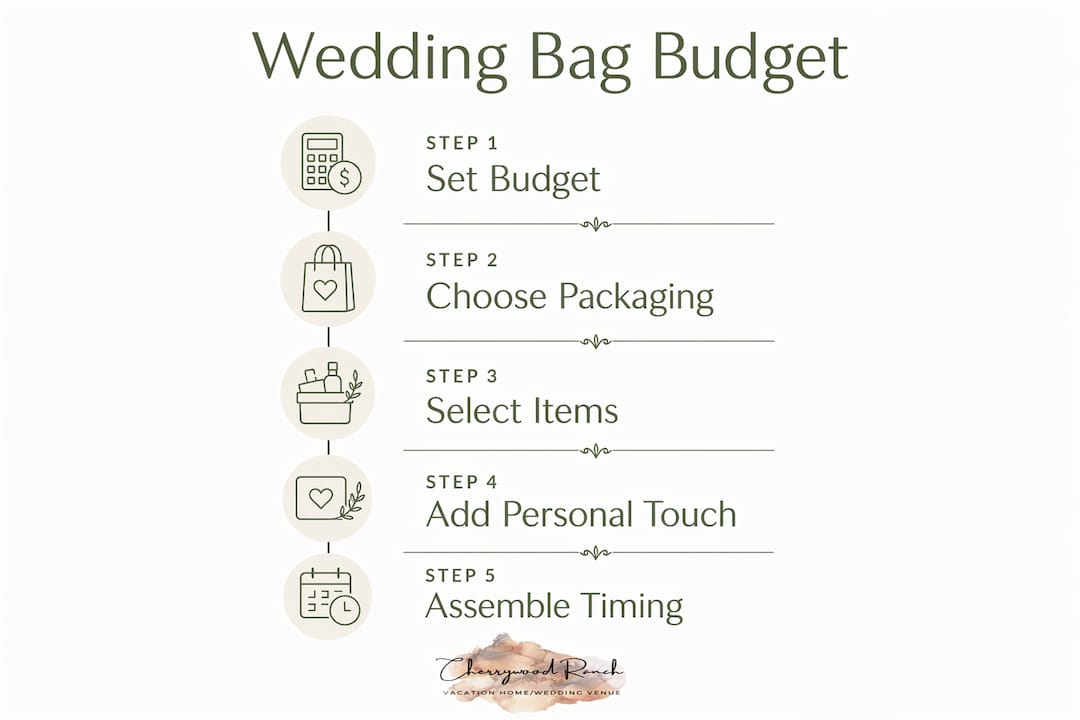
DIY wedding welcome bags typically cost $5–$40 each, with the sweet spot for most couples landing in the $8–$25 range. The table below breaks down what each tier realistically delivers.
| Budget tier | Cost per bag | What it includes |
|---|---|---|
| Budget-friendly | $8–$15 | Kraft bag, crinkle paper filler, two snacks, water, welcome note |
| Mid-range | $15–$25 | Tote bag or gift box, local treat, itinerary card, snacks, lip balm |
| Premium | $40+ | Branded box, curated local goods, candle, custom map, multiple snacks |
The packaging itself shapes how guests perceive the bag before they open it. Kraft paper bags with ribbon look polished at a low cost. Reusable canvas totes add function since guests can use them throughout the weekend. Gift boxes feel premium but add weight and bulk. For most destination weddings, a sturdy tote bag in a color that matches your palette is the best balance of cost, aesthetics, and practicality.
Crinkle paper filler is the single most underrated packaging detail. It makes a half-full bag look intentional and full. Color-coordinate the filler with your wedding palette to tie the whole look together without spending more on additional products.
Pro Tip: Order packaging in bulk from wholesale suppliers to cut per-unit costs significantly. Buying 50 tote bags at once often costs less per bag than buying 10.
How to assemble welcome bags efficiently
Organized assembly prevents last-minute chaos, especially when you are building 30 or more bags at once. The process works best as a batch operation with a clear sequence.
- Lock in your guest count first. Securing your room block early gives you an accurate number of bags to build, preventing over-purchasing or running short. This single step eliminates most late-stage stress.
- Gather all components before you start. Lay out packaging, filler, non-perishables, and printed materials in separate piles. Do not start assembling until every item is on the table.
- Follow the correct layering order. Place the bag first, then add filler, then non-perishables, then the welcome note on top, and add snack items last. Snacks go in last for freshness, and the welcome note on top ensures it is the first thing guests see.
- Label every bag with the guest’s name. Name tags on individual bags help hotel staff distribute correctly and prevent mix-ups. Use a printed label or a handwritten tag tied to the handle.
- Set up an assembly line with help. Assign one person per station: one fills bags, one adds snacks, one adds the note and label, one seals or ties the bag. This cuts assembly time dramatically.
For timing, allocate a full day for 50–150 bags, or an afternoon for smaller quantities. The table below gives realistic time estimates.
| Bag quantity | Recommended time | Team size |
|---|---|---|
| 10–25 bags | 2–3 hours | 1–2 people |
| 26–75 bags | 4–6 hours | 2–3 people |
| 76–150 bags | Full day (8+ hours) | 3–4 people |
Pro Tip: Assemble bags two days before the wedding weekend begins. This gives you a buffer for missing items and keeps snacks fresh without cutting it too close.
How to coordinate delivery with hotels and venues
Delivery logistics are where the best-planned bags can fall apart. The fix is early communication with every property involved.
- Confirm hotel delivery policies before you finalize your budget. Hotel delivery fees run $5–$10 per bag, and some properties have strict cutoff times or refuse third-party deliveries entirely. Discovering this two days before the wedding creates real problems.
- Provide a complete guest list with room numbers. Give the hotel front desk a printed list that matches bag labels to guest names and room assignments. This removes any guesswork from their side.
- Choose your distribution method early. In-room delivery feels the most personal but costs more and requires hotel cooperation. Front desk pickup is simpler and free at most properties. A welcome table at the venue works well when all guests arrive at a central location, as is common at a property like Cherrywoodranchweddingvenue where lodging and the event space are in the same place.
- Confirm drop-off timing with the venue or hotel. Bags should arrive before the first guests check in. For most destination weddings, that means delivering bags the morning of the first event day, not the night before.
- Build a distribution checklist. Track which bags have been delivered and which are still waiting. A simple spreadsheet with guest names, room numbers, and a “delivered” checkbox prevents bags from sitting unclaimed at the front desk.
For couples planning a multi-generational family wedding weekend, consider customizing bag contents slightly by age group. Grandparents may appreciate different snacks or a larger-print itinerary card. This small adjustment shows real attention to your guests as individuals.
Key Takeaways
A well-built wedding welcome bag combines a printed itinerary, practical hydration, local flavor, and a personal note, assembled in batches and delivered with confirmed hotel coordination.
| Point | Details |
|---|---|
| Prioritize practical items | Guests value hydration, snacks, and a printed itinerary over decorative fillers. |
| Budget by tier | Plan $8–$15 for budget bags, $15–$25 for mid-range, and $40+ for premium options. |
| Assemble in order | Add filler first, non-perishables second, snacks and welcome note last for freshness. |
| Label every bag | Guest name tags prevent distribution errors at hotels and venues. |
| Confirm hotel policies early | Delivery fees of $5–$10 per bag and strict cutoff times can catch couples off guard. |
What I’ve learned from watching couples get this wrong
Most couples overthink the contents and underthink the logistics. I have seen beautifully curated bags arrive at the wrong rooms, sit unclaimed at the front desk for two days, or get assembled the night before the wedding when everyone is already exhausted. The bag itself is rarely the problem. The planning behind it usually is.
The couples whose guests actually rave about their welcome bags tend to do three things differently. They choose fewer items with more intention. They include at least one thing that could only come from that specific place, whether it is a local jam, a regional coffee, or a hand-drawn map of the area. And they treat delivery logistics with the same seriousness as the ceremony timeline.
Restraint is the real skill here. A bag with five genuinely useful items beats a bag with fifteen forgettable ones every time. The personalized wedding experience is not about volume. It is about making each guest feel like you thought specifically about them.
One more thing: do not wait until two weeks before the wedding to start sourcing. Local specialty items, custom labels, and bulk packaging all take time to arrive. Start the sourcing process at least six to eight weeks out, and you will have room to course-correct if something sells out or ships late.
— Luis
Planning your destination wedding at Cherrywoodranchweddingvenue
Cherrywoodranchweddingvenue sits in the North Georgia Mountains and combines a full wedding venue with on-site lodging for up to 16 guests. That setup changes the welcome bag equation entirely. When your guests sleep, celebrate, and gather in the same place, you control the delivery experience without hotel fees or front desk policies getting in the way.
The venue’s team supports couples through the full weekend, including guest coordination that makes welcome bag distribution straightforward. Couples planning a destination wedding in Georgia can explore how the all-inclusive weekend format simplifies every layer of guest hospitality, from the first bag they open to the last morning they spend together on the property.
FAQ
What should go in a wedding weekend welcome bag?
The core items are a printed itinerary, a personalized welcome note, water, and two snacks (one sweet, one savory). Adding one locally sourced item significantly increases the bag’s memorability and personal feel.
How much do DIY wedding welcome bags cost?
DIY welcome bags cost $5–$40 each, with $8–$15 being the most practical budget-friendly range for most couples. Premium curated kits start at $40 and up.
How far in advance should I assemble welcome bags?
Assemble bags no more than 48 hours before delivery to keep snacks fresh. Start sourcing all components six to eight weeks before the wedding to avoid stock or shipping delays.
Do hotels charge to deliver welcome bags to guest rooms?
Yes. Hotel delivery fees typically run $5–$10 per bag, and some properties have strict policies or cutoff times. Confirm these details with the hotel as early as possible.
How do I make sure every guest gets the right bag?
Label each bag with the guest’s name and provide the hotel or venue with a printed list matching names to room numbers. Named bag labels are a simple detail that prevents most distribution errors.